
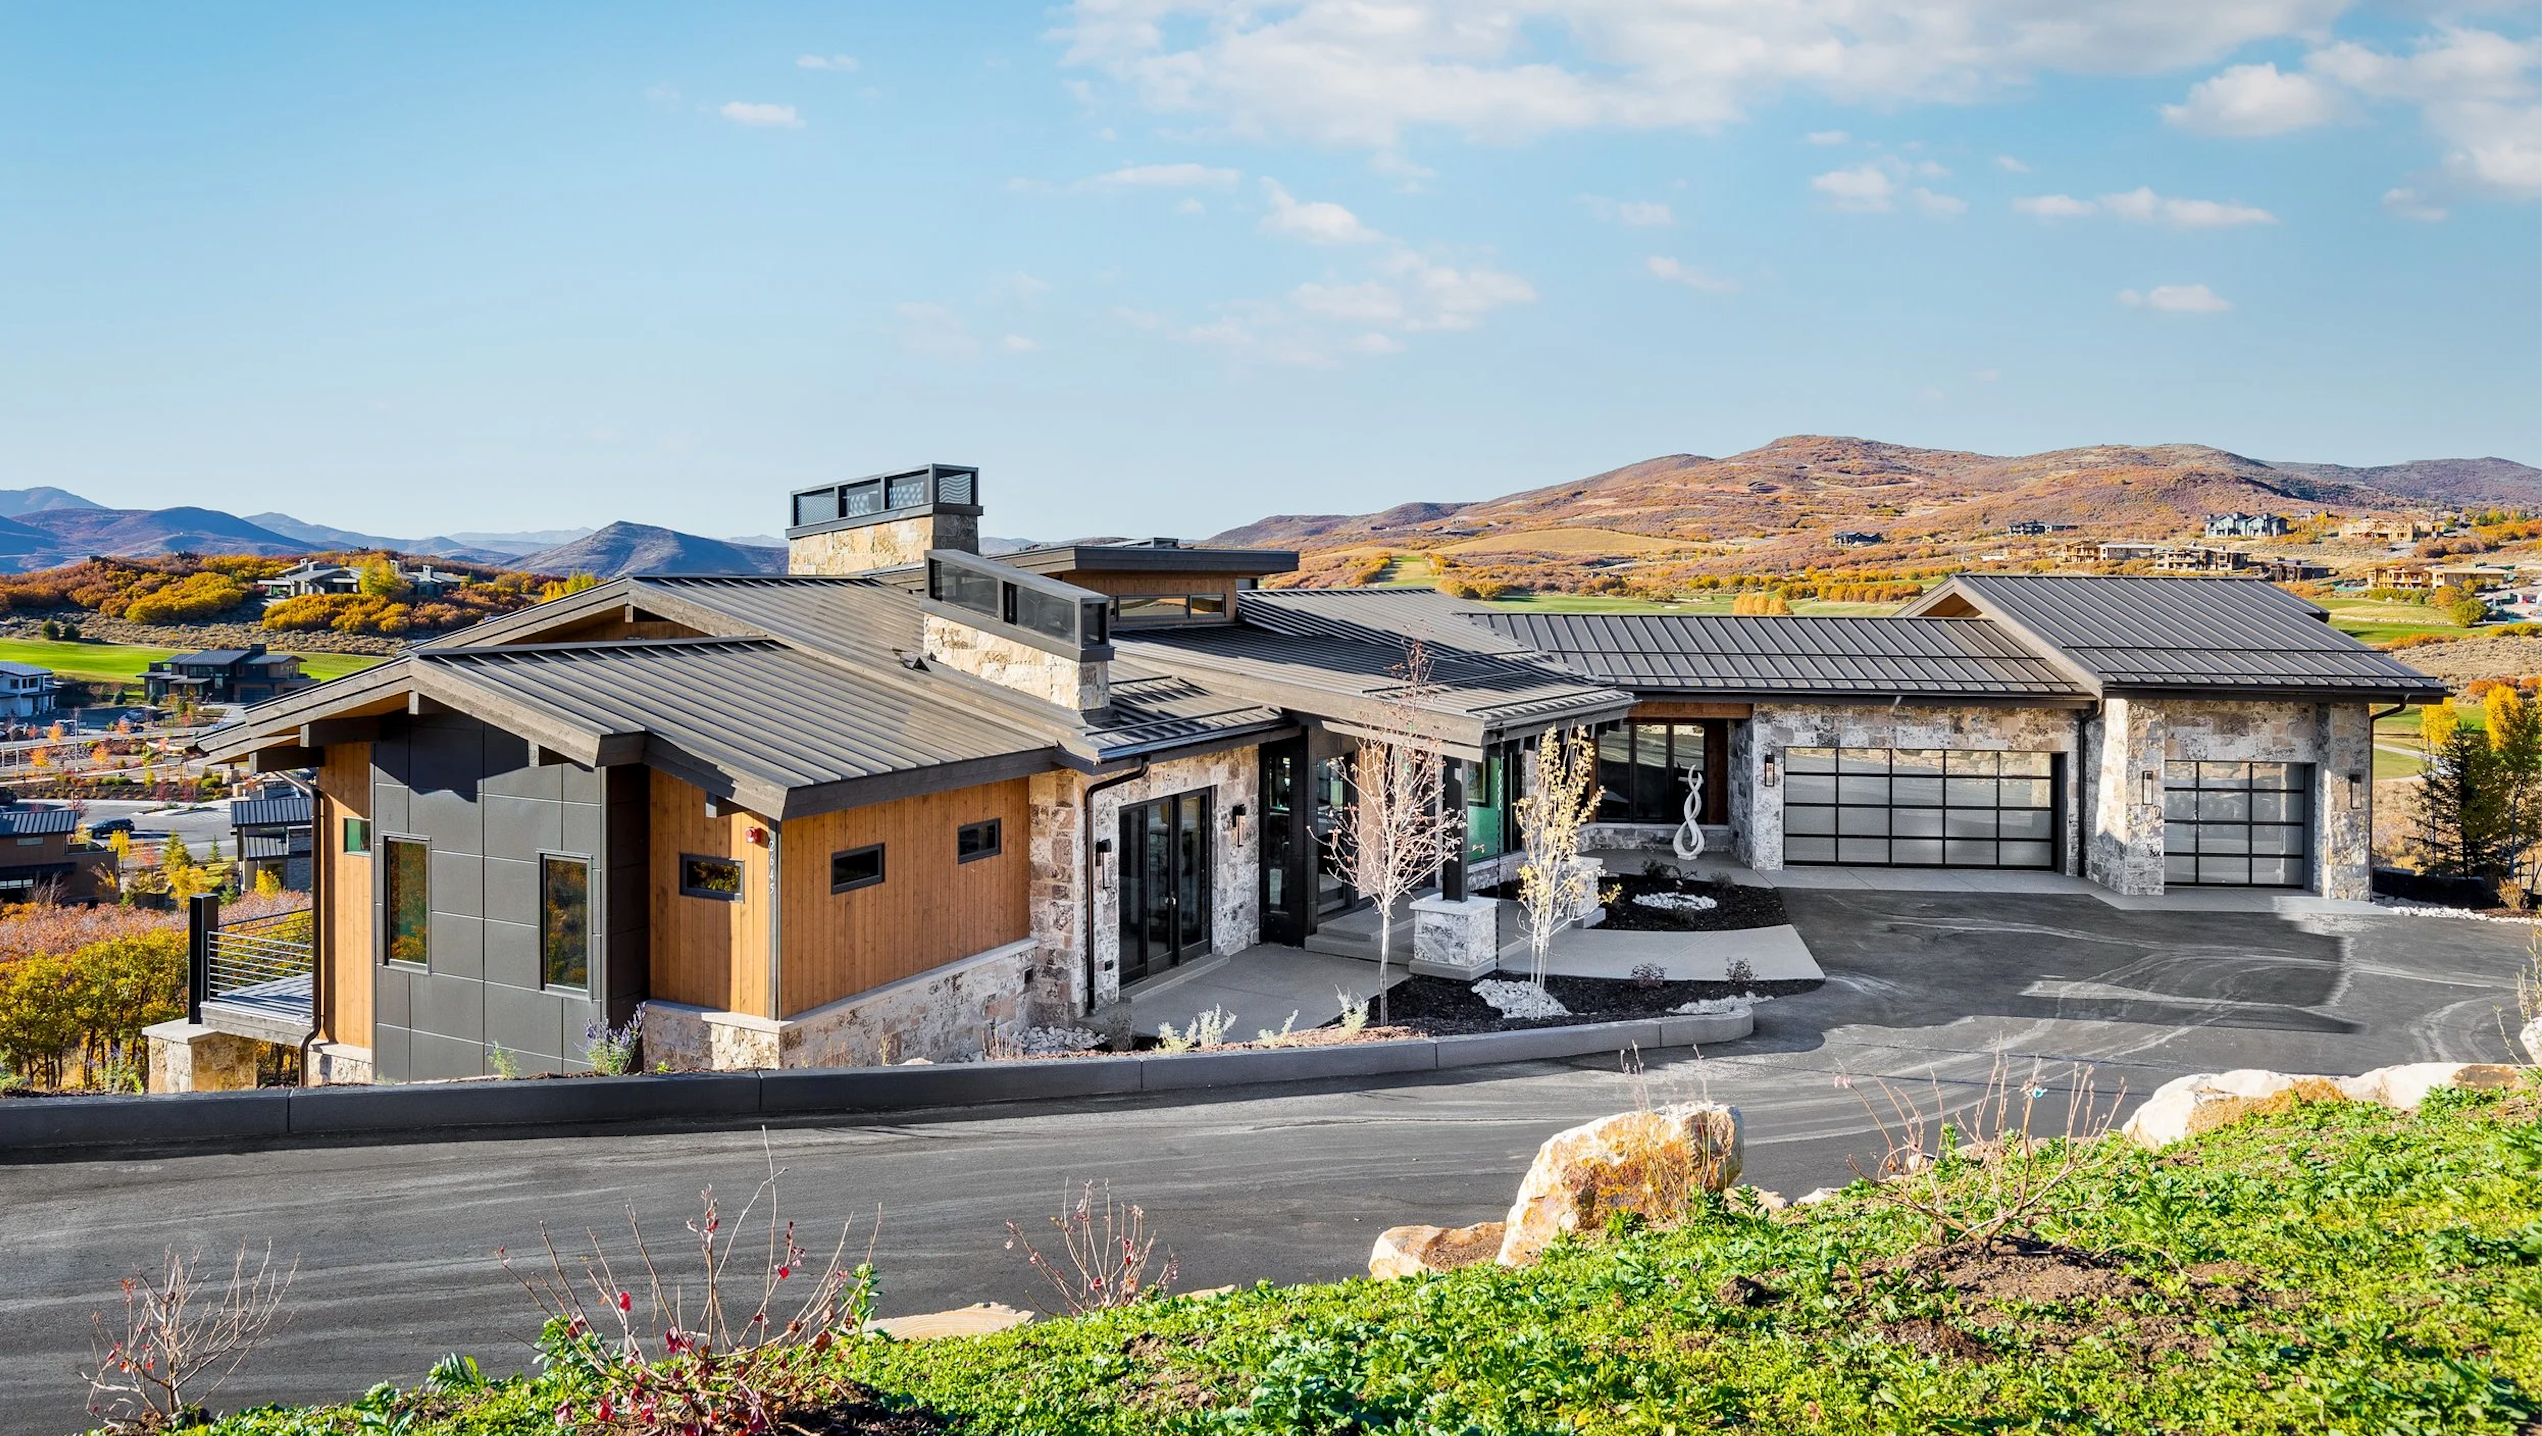
Installing Stone Veneer Over Your Existing Brick Home
The Mason's Bench — Renovation Guides
Half of southern Ontario lives behind 1960s–90s brick, and a lot of it is tired. The good news, confirmed on facade after facade across the province: sound brick is one of the best veneer substrates in the trade. Here is exactly how the job works — and the three checks that decide whether yours qualifies.
The question arrives every week from owners of solid, structurally perfect, aesthetically exhausted brick facades: tear it off, or go over it? Tearing off brick is brutal, expensive, and almost always unnecessary. Sound brick is a rigid, flat, high-suction masonry surface — precisely what adhered stone veneer wants underneath it. Going over it is not a compromise; on most houses it's the technically superior path, because your existing brick becomes a rain-shedding backup wall most new builds would envy.
But "most houses" is not "all houses." The job succeeds or fails on three checks you run before ordering a single crate.
Check One: Is the Brick Sound?
Walk the wall with a hammer and honest eyes:
- Spalling. Faces popping off bricks means moisture is already cycling through the wall. A few isolated spalls get cut out and patched; widespread spalling means the wall has a water problem that stone will hide but not cure — find the source (grading, gutters, failed caps) first.
- Mortar joints. Rake a key across them. Sandy, crumbling joints get repointed in the failing areas before veneering. You're about to hang your new wall off this one; its mortar is your foundation.
- Movement. Stair-step cracking through bricks and joints, bulges, or out-of-plane sections are structural questions, not cosmetic ones. Veneer over active movement cracks with it. Get a structural opinion before proceeding — usually it's a settled, stable old crack, but "usually" is not a plan.
- Sound it. Tap any parged or previously coated areas. Hollow drumming means debonded material that comes off before anything goes on.
Check Two: Bare or Painted?
This single question splits the job into two different systems — both correct, one cheaper.
Bare brick bonds directly; painted brick gets bypassed with anchored lath and a scratch coat. Both walls end identical — the paint just costs one extra layer.
Route A — sound bare brick: direct adhesion
The dream scenario. Clean the wall (stiff brush, water, a pressure wash if it's grimy — then let it dry to damp), run the water-flick test (flick water at the brick; it must darken and absorb within seconds), and bond directly with a polymer-modified veneer mortar. No WRB, no lath, no scratch coat — the brick is your scratch coat. Skim the wall, back-butter the stone, full coverage, squeeze-out. Materials run lean and the labour is the fastest in the trade.
Route B — painted or sealed brick: the lath route
Mortar cannot bond to paint — more precisely, it bonds beautifully to paint, and then the paint lets go of the brick, taking your wall with it. You have two options. Option one: blast or grind back to bare brick — thorough, dusty, and often not worth it over large areas. Option two, the standard professional answer: bypass the paint mechanically. Fasten 2.5 lb self-furring galvanized lath through the paint into the brick with masonry screw anchors on a tight grid, apply a ½-inch scratch coat, cure it 48 hours, and you now own a brand-new bondable surface that doesn't care what's under it. It adds a step and $2–$4 per square foot in sundries, and it is completely reliable. What you may not do is "rough up the paint a bit and hope." Hope is not a bonding agent.
Efflorescence — that white haze on older brick — washes off, but its message doesn't: moisture has been moving through that section of wall. Before covering it forever, find out why. Nine times out of ten it's a gutter, a downspout, grading, or an uncapped pier, and a hundred-dollar fix now saves the new stone from inheriting the old wall's disease.
Check Three: Can Your Details Absorb Two More Inches?
Here is the part every DIY article skips and every experienced mason checks first. Veneer plus setting bed adds roughly 1½ to 2 inches to the face of the wall, and the wall's details were designed without them.
Plan view at a window jamb. The new stone and bed push the wall face out roughly two inches — every opening, sill, and flashing on the house has an opinion about that.
- Windows and doors. Your openings get deeper. Decide the reveal story per opening: return the stone into the jamb with corner units (the premium look — order corners for it), or terminate against new extension jambs and brickmould. Existing sills that used to project past the brick may now finish flush or short — sills usually need extending or replacing with deeper stone sills. Price this honestly; it's where over-brick budgets actually grow.
- The roofline. Where walls meet roofs, step flashing and kickout flashing were set for the old wall plane. They must be adapted so water still exits over the new stone face, and stone stays 1½–2 inches off the shingles. This junction is the single most common leak point in over-cladding work of every kind — give it professional attention even on a DIY job.
- Penetrations. Hose bibs, receptacles, light fixtures, dryer vents, gas meters — everything needs extending to the new plane. Count them during estimating, not during installation.
- Grade clearance still rules. The new stone stops 4 inches above soil and 2 inches above pavement, exactly as on any veneer wall — even if the old brick runs lower. Terminate on a level line with a drip-friendly detail and let the original brick handle the ground-contact zone it was built for.
The Popular Play: Partial Facades
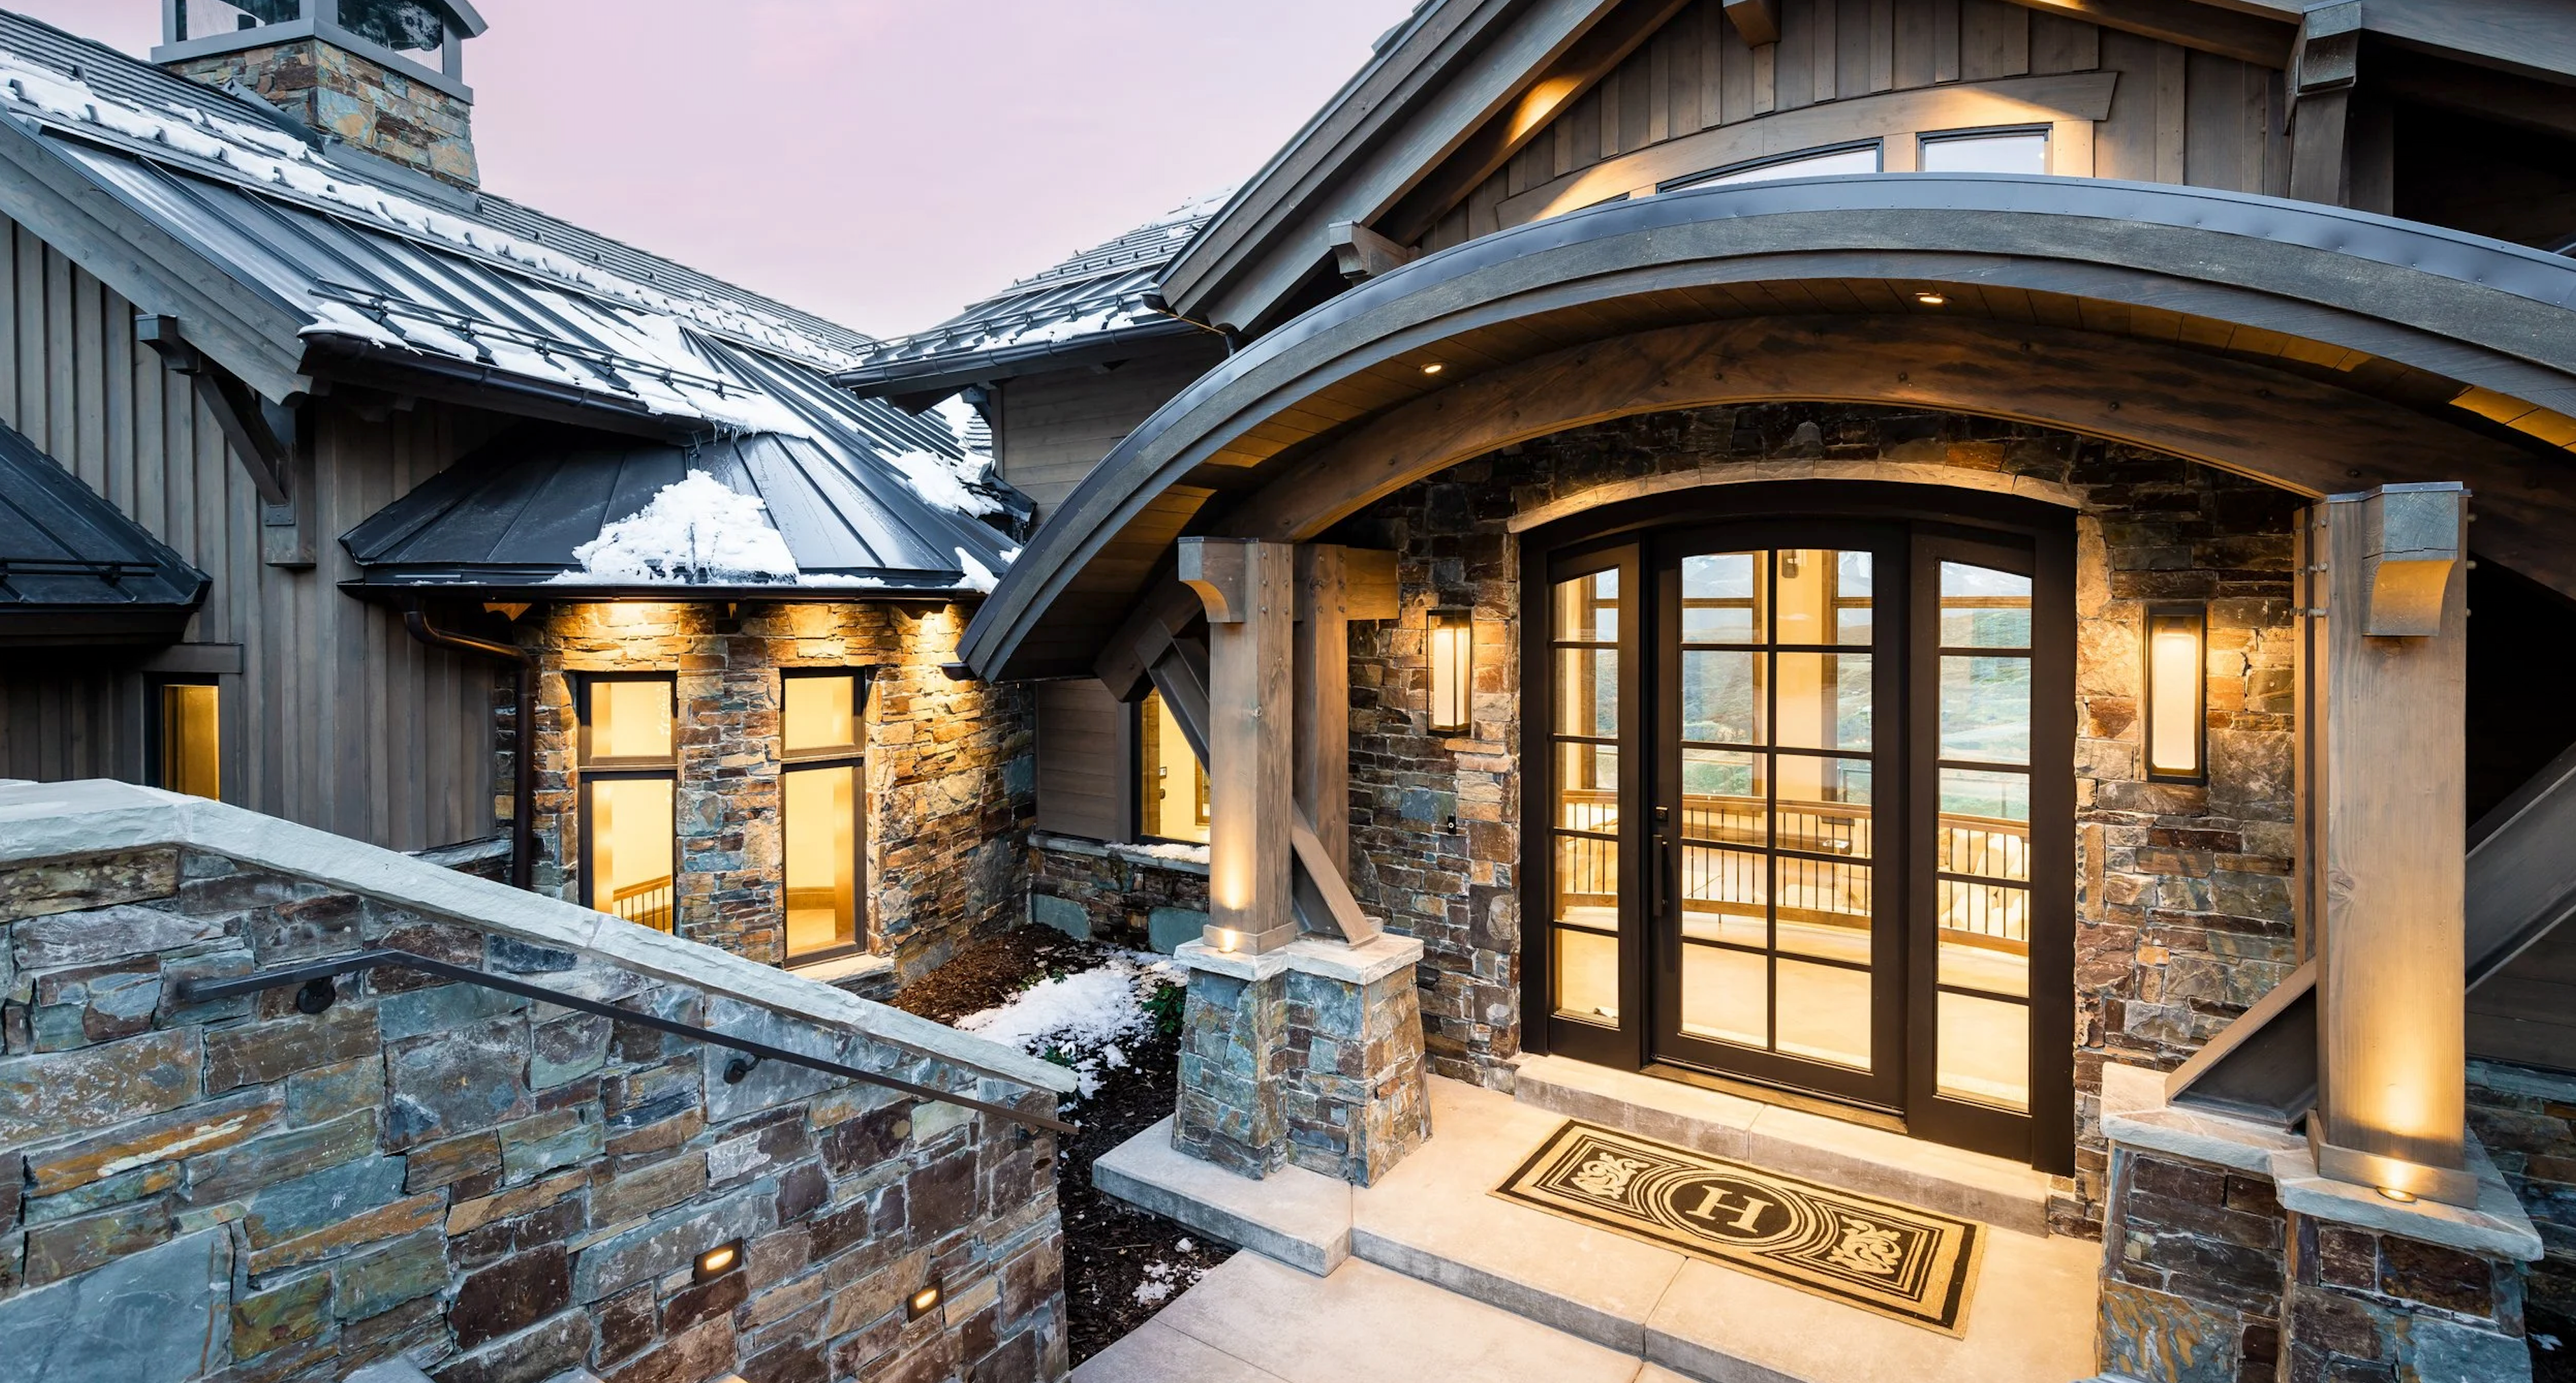
You don't have to do the whole house, and most of our over-brick customers don't. The highest-impact, lowest-cost patterns we supply for, in order: the entrance surround (door plus flanking wall, often gable-height); the lower-storey band or wainscot with a sloped stone sill cap on the transition; garage-front plus entrance; and chimneys, which read from the whole street. A 150–300 sq ft partial transforms a facade for a fraction of full-wrap money — and because your substrate is brick, the cost per foot sits at the friendly end of the veneer spectrum. One rule on partials: end sections at inside corners, openings, or a capped level line. Stone that just stops mid-wall looks like the budget ran out, because it did.
The Job Itself, Condensed
- Run the three checks: soundness, paint, details. Remediate what fails.
- Measure flats and corners; apply the corner deduction and waste factor; order everything in one shipment so the blend matches.
- Prep the substrate — Route A cleaning or Route B lath-and-scratch (cure 48 hours).
- Set corner units first, alternating legs; run field stone toward the middle; full back-butter plus wall skim on every stone; pull tests until your coverage prints clean.
- Grout and strike at thumbprint-hard, or fit tight for dry-stack; dress every cut edge; keep cuts out of the corners and eye lines.
- Flash and cap every horizontal; respect the clearances; walk the raindrop's path from cap to grade before calling it done.
For mortar selection at trade depth, start with our mortar guide; for setting fundamentals, our installation tips. This guide decides whether and how.
Quick Answers
Will the extra weight hurt my house?
Adhered natural veneer runs under 15 lb per square foot, carried by the bond into a masonry wall that weighs several times that already. On sound brick, added weight is a non-issue; the checks that matter are soundness and paint, not load.
My brick is only a half-storey accent — can I match stone to the siding above?
Yes — that's a standard partial-facade job. The transition detail (sloped cap, flashing behind, siding lapping over) is the part to get right, and we can spec it with your order.
Can I do this over brick in the winter?
Same rule as all veneer work: nothing sets below 4 °C on a falling thermometer, and fresh work stays above freezing for 48 hours. Over-brick jobs are wonderfully suited to spring and fall — cool, damp weather is mortar's favourite.
Dejar un comentario
Este sitio está protegido por hCaptcha y se aplican la Política de privacidad de hCaptcha y los Términos del servicio.