DIY Tips for Stacked Stone Fireplace
TIPS FROM THE TRADE: ESSENTIAL DIY TIPS AND TOOLS FOR PROFESSIONAL STACKED STONE FIREPLACES
.jpg)
The best DIY projects have three things in common: You can do them without specialized tools or heavy equipment, they can be completed in a weekend (or a few days at the most), and the end result looks like a million bucks!
Installing your own stacked stone fireplace surround fits these criteria well. It may not be the best project for an absolute beginner, but if you’re confident in your basic DIY skills, it’s a project worth undertaking.
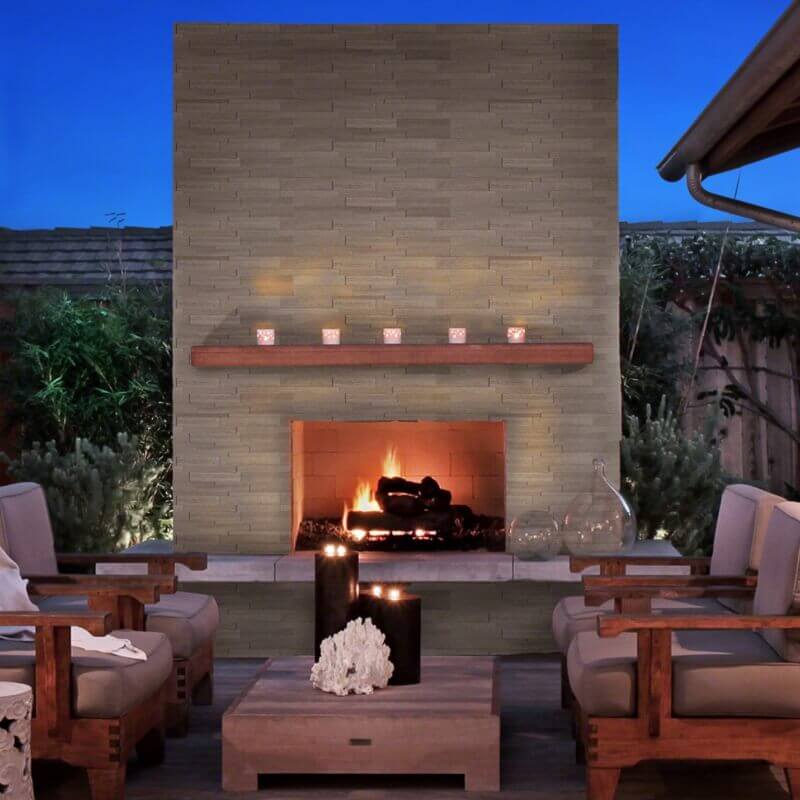
 Featured: Alaska Gray Stacked Stone
MSI’s no grout needed stacked stone veneer panels are engineered for simple installation and a lifetime of durable beauty, and you’ll love the affordability.
Ledger stone panels are crafted from real, natural stone – quartzite, marble, sandstone, slate, and other materials, so you’ll get the timeless look of a solid stone wall along with natural character and warmth. Stacked stone creates dramatic fireplaces, a beautiful focal point for any room, indoors or out.
 Featured: Charcoal Rust Stacked Stone
Like any DIY project, getting a professional-looking finished product requires some advanced planning. We suggest that you browse how-to videos before even choosing your stone panels, so you have a thorough understanding of how much work is involved, how much time it will take, and your budget for the project.
MSI’s stacked stone visualizer is a great tool to help you choose the perfect type of ledger panel among the many varieties we offer.
 Featured: White Oak 3D Honed Stacked Stone
To complement the how-to resources available on MSI’s website and elsewhere, we’d like to offer a few tips from the trade to guarantee a professional installation, as well as make the stacked stone installation process go more smoothly.
#1. Be sure to read all manufacturers’ instructions carefully before you begin. This sounds obvious, but we bet there are lots of people who don’t want to.
#2. Don't forget to measure the area carefully – at least twice. Even pros make mistakes sometimes with measurements, so you’ll be glad you took the time to double-check. When ordering your stone veneer panels, don’t purchase just the minimum needed to cover your measured dimensions -- allow for an extra 10% to cover cut pieces and waste.
#3. Make sure to assemble every tool and material you will need for the project before beginning. Projects go much more smoothly when you don’t need to interrupt your work to fetch a tool or make a trip to the store.
 Featured: Golden Honey Stacked Stone
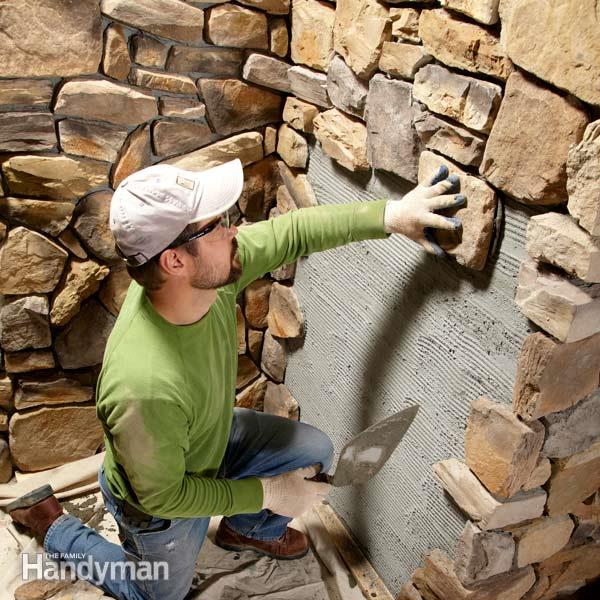
#4. Remember to protect your flooring with a heavy duty dropcloth, newspaper, or a roll of surface shield paper. This process will be messy, and this will save you a lot of cleanup time.
#5. Don't forget to lay out your stacked stone ledger panels on the floor, fitting pieces together, before applying each row. This helps to prevent any surprises from pieces that don’t fit quite right, and confirms you’ve measured correctly.
#6. Be sure your ledger panels are installed perfectly on the level, especially on the first, bottom row. Use a chalk line as a guide, and insert shims beneath the panels as needed to keep them level relative to the floor. Even the smallest mistakes made on the first row will affect the entire installation.
#7. Often, you’ll need to cut one piece to fit the space. Measure and cut each piece as you go – do not assume each row will be the same, because walls aren’t always perfectly even (especially in older homes), and even the smallest error will create a big problem later.
.jpg) Featured: Gray Oak 3D Honed Stacked Stone
Featured: Gray Oak 3D Honed Stacked Stone
As you can see, most of the tips we’re sharing here are common sense – mainly, we encourage you to slow down and prepare thoroughly before proceeding with each step. It’s better to take a few extra hours to complete your stacked stone installation properly than to regret your mistakes. We want to make sure your MSI stacked stone veneer panel fireplaces brings you satisfaction and enjoyment for decades to come!
Source: https://www.msisurfaces.com/blogs/post/2017/04/27/tips-from-the-trade-essential-diy-tips-and-tools-for-professional-stacked-stone-fireplaces.aspx


Leave a comment
This site is protected by hCaptcha and the hCaptcha Privacy Policy and Terms of Service apply.